Laying a concrete slab requires a careful approach. Thorough preparation is crucial because your slab needs to be stable and well levelled. Before you embark on the process, you need to get all the essential tools and materials for your slab. This includes:
- A ball of string
- A mallet
- Wheelbarrow
- Earth rammer
- Damp proof membrane
- Four wooden pegs broom
- Levelling tools including a compactor and a rake
- Timber, drill, hammer, nails and screws
- Steel mesh and tarpaulin
For your safety, you will need;
- Eye protection against cement dust and concrete dust
- Rubber boots
- Sleeves and long trousers for your skin
- Rubber gloves for your hands
With these materials and tools, you need to start the process of laying a concrete slab by following this guide:
1. Measure and mark
Mark out the slab area and measure the lengths between two opposite corners. You should be careful to ensure all angles are equal. A good concrete slab is of medium size, not too small or too big. Most importantly, keep the base of your slab the same size as that of the building’s footprint.
2. Dig out the marked area
Dig out the marked area up to 175mm, if you want a small slab and 225mm for a larger one. Remove the string lines and the pegs. Always ensure the length of your slab is consistent.
3. Lay out your MOT stone
Using a shovel, you need to lay out your MOT stone. This is the stone that is used to conform to the industry or the department of transport regulations. Lay the crushed stone into the area you have dug out. It plays a significant role in forming a hard, long-lasting and sturdy base where you will lay the concrete layer. Therefore, ensure the base is 4 inches deep if you are working on a shed slab. For a summerhouse or a cabin, let the base be 6 inches deep.
Ready Mix Concrete Essex
Ready Mix Concrete Southend Call: 01277 636046
Ready Mix Concrete Chelmsford
4. Fit in timber rails
Measure, carefully cut and smoothly fit timber rails on the base. While doing this, you should be keen on the framework. Remember, the framework is tailor-made for two purposes. This includes:
- Creating a stable edge for your concrete slab.
- Levelling up the concrete.
Therefore, when fitting in timber rails, ensure you do it carefully to provide enough space to fill up the concrete. If the framework is levelled up well, the concrete will also come out well.
5. Spread MOT gravel or stone
Once you have filled the rails, it is time to spread out your MOT gravel or stone. Use a powered or a manual rammer to ensure you fill in the stone firmly. This will help to prevent any cracks or uneven concrete slab later on.
You can also use powered Wacker plates, especially petrol driven option to spread the gravel. It is more powerful and it uses exceptional vibrations to make the base of the concrete slab strong. If you cannot afford to purchase one, you can always hire since there are many companies that offer petrol driven Wacker plates for hire.
6. Cover the stone layer
Cover the gravel layer using sand. Use a generous amount and then cover the area with a damp proof polythene membrane. This is very crucial as it helps to prevent moisture from escaping or arising through the concrete mix, into the floor bearers of your building. Remember, sand will always fill voids that could possibly cause your slab to sink. It also provides extra protection, so that the stones used will not damage the membrane.
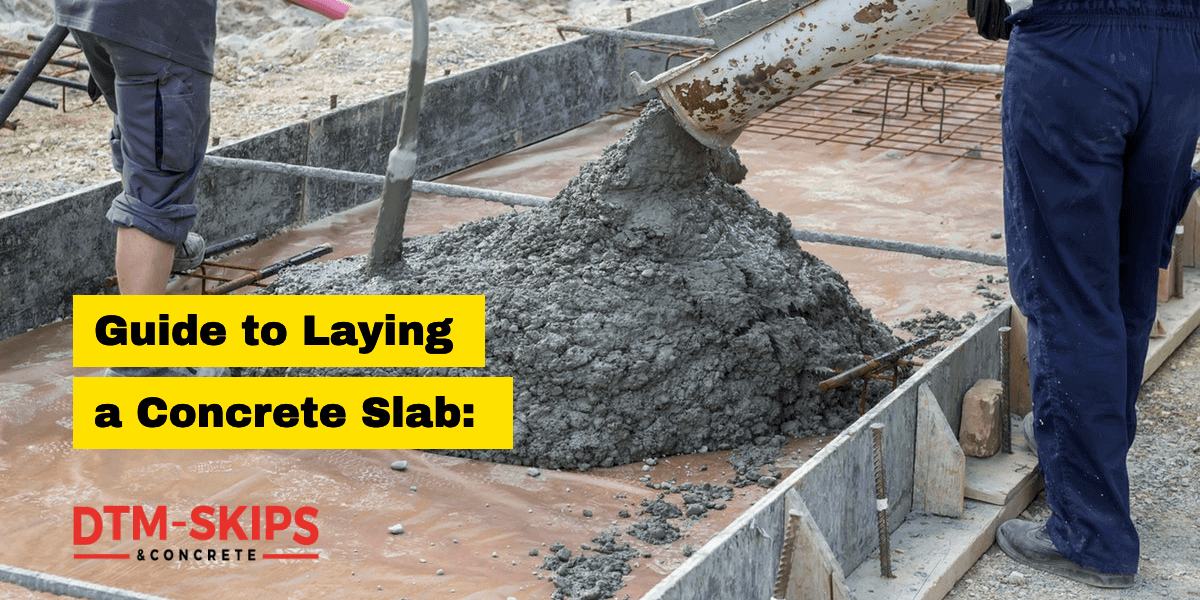
7. Mix concrete
You can now mix your concrete but you should follow the right concrete mix ratio. For a bigger slab, you can use a cement mixer as it offers an even mixture in the end. It also enables you to have accurate quantities for laying concrete. A point to note is that if the ratio is not right, your first batch of the mixture will be hard. As a result, your concrete slab will not come out as a desired.
Therefore, it is imperative that you have a ratio of 1 bag of cement: 4bags sand: 1bag MOT gravel and water. Use half a litre of water for one kilogram of cement.
It is also essential that you add a plasticiser to your mixture. Mortar plasticiser significantly reduces the amount of water that will be used for a smoother concrete mixture. It also ensures the mixture doesn’t shrink as you work. This is because when the mixture is dry, it is more resistant and remains flexible to the damaging effects of frost. For the best results, use 150ml of plasticiser to 25kgs of cement mixed in water. Add it to your cement and sand.
If you realize that the sand is wet when making your concrete mixture, you should be careful not to add more water. It helps to ensure the mixture is not sloppy but just smooth enough to provide the right consistency for your slab. The quality concrete slab should be hard or stiff enough to maintain a good heap on a shovel scoop.
8. Laying a concrete slab
With a good mixture, you can now start laying a concrete slab. You need to:
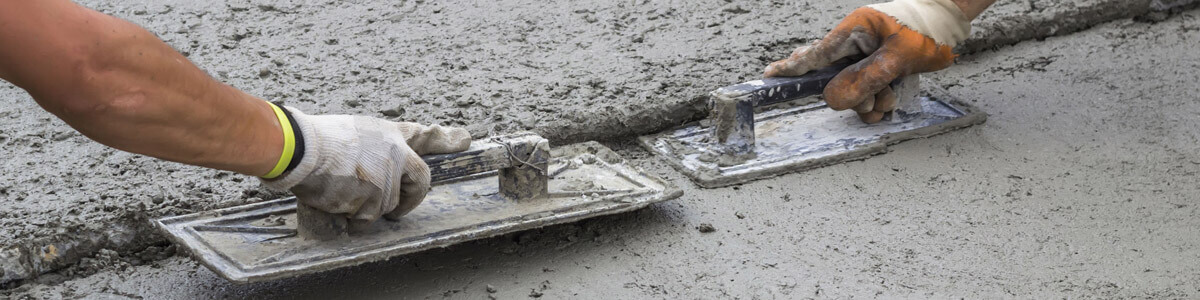
- Evenly spread the concrete around timber rails. Start levelling off using a straight timber, following a sawing motion.
- Carefully brush across the surface once you have smoothed it over. Lightly brush across or through the base using a stiff broom. It helps to create a non-slip and textured surface.
- You can now cover the base using a tarpaulin or polythene membrane and leave it for 24hours during the cold season. If the temperatures are high, you can just cover the place with a sack to keep it damp. It helps to keep the concrete in a good state and prevent possible cracks.
- Let the concrete slab cure for about 3days. The cure period allows the concrete to harden and achieve its solid strength. Remove timber rails once the concrete is completely cured.
- Fill in the space that is remaining around the edges of your concrete. Remember, when building concrete slabs, spaces are left out when you remove rails. Therefore, use pea gravel to fill in and drain excess moisture from your base.
Give your concrete slab a finish through trowelling, brushing or simply exposing the stone. For the best and quality concrete in ESSEX, contact DTM Skips today.